
Content
- Content
- 发型版的选用
- 更改系统语言 & 安装字体 & 更改字体 & 修改终端配置 & 修改系统主题
- 更换软件源
- 安装配置基础软件: VIM & tree & git
- 换一个好看的shell: 安装zsh及oh-my-zsh
- 远程连接工具: remmina
- Chrome & FireFox不用我多说
- 主力编辑器: Visual Studio Code
- 几个需要说明的国产软件
- Python3库的补充
- 爬虫要用到的一些东西: PhantomJS, ChromeDriver
- Node.js环境搭建
- mongodb数据库
- 安利两个好用的小软件
- 基本上可以搞事情了, 突然发现还有一件事没干, 配置github & 码云
- 开始你的Linux平台编程之旅吧!
发型版的选用
大致的范围是
Debian系, 在使用几个著名的Debian系发型版之后, 发现主要的区别是桌面环境, 在不停换用的五个月之后, 最终稳定下来是Ubuntu Mate.解释一下,
Ubuntu想必大家都知道, 还有更出名的是这句有画面感的话 - “你的系统出现了内部错误”, 看到这句话, 便可大舒一口气, 这肯定是正宗的ubuntu, 后面的mate是怎么回事呢?mate桌面环境起源于Gnome3开始作妖的那段时间,gn3那个鬼样子嘛…emmm稍有常识的人心里都有数, 有人不愿意放弃好用的Gnome2桌面, 于是从已经停止维护的Gnome2代码库里把gn2救了回来, 改名为mate, 一直续命到现在,1.20版本也是不甘落伍, 增加了对Gtk3+的资磁, 熟悉gn3作妖的那个时代的人, 看到gn2改头换面还活着, 应该心里还是有些安慰的吧.mate桌面现在依然是很多主流发行版官方支持的桌面, 包括
Debian,Ubuntu,Linux Mint等等, mate官方网站说它适合老机器, 巧了, 作者用的就是一台2012发布的经典小黑ThinkPad笔记本, 经过实测, 开机占用800M内存左右, 不过分吧(Gnome3请不要逃避现实), 当然xfce桌面开机只占用500M左右, 比不过比不过. 好了, 就不再啰嗦了, 用了mate桌面的人都说好(手动狗头)我不是没有安装过Debian, 在作者这台笔记本上, 试过Debian9.4.0, 由于下载的是原版镜像, 只有开源(
free)驱动……然后我的无线网卡就凉了, 由于我的无知, 还是回到了Ubuntu(真香.gif), Ubuntu的驱动支持还是可以肯定一下的, 包含很多non-free闭源驱动(笔者在这篇文章的一个星期前在二奶机上安装了Debian, 发现官方支持的mate版本还是1.16, 并不支持Gtk3+, 我喜欢的主题用不了呜呜呜), 再加上Ubuntu的很多教程也比较好找, Debian相比就硬核一些, 感觉是给老司机用的.最终选用
Ubuntu Mate的理由我应该解释完了.最后推荐一个国内镜像站:中科大镜像站, 速度绝对有保证.
更改系统语言 & 安装字体 & 更改字体 & 修改终端配置 & 修改系统主题
- 我一般会在安装时选择英文, 是为了在终端里操作时方便, 避免中文, 安装完成后载把系统语言改为中文就好.
- 按照惯例, 一定会安装
Fira Code&文泉驿微米黑,Fira Code是等宽的编程字体, 作者在github上有发布, 但是已经保存在我的移动硬盘了. - 在
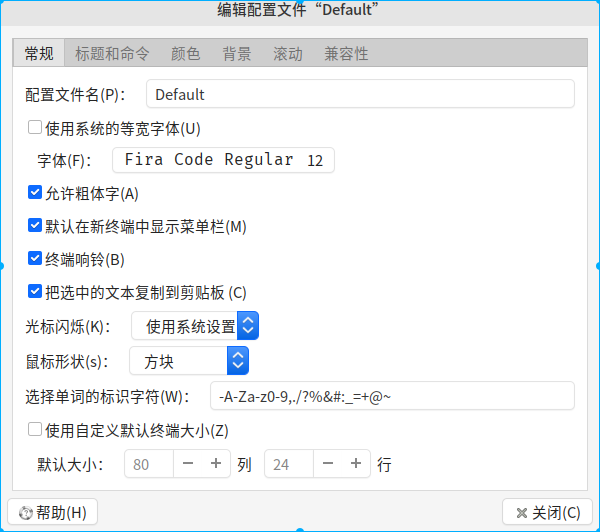
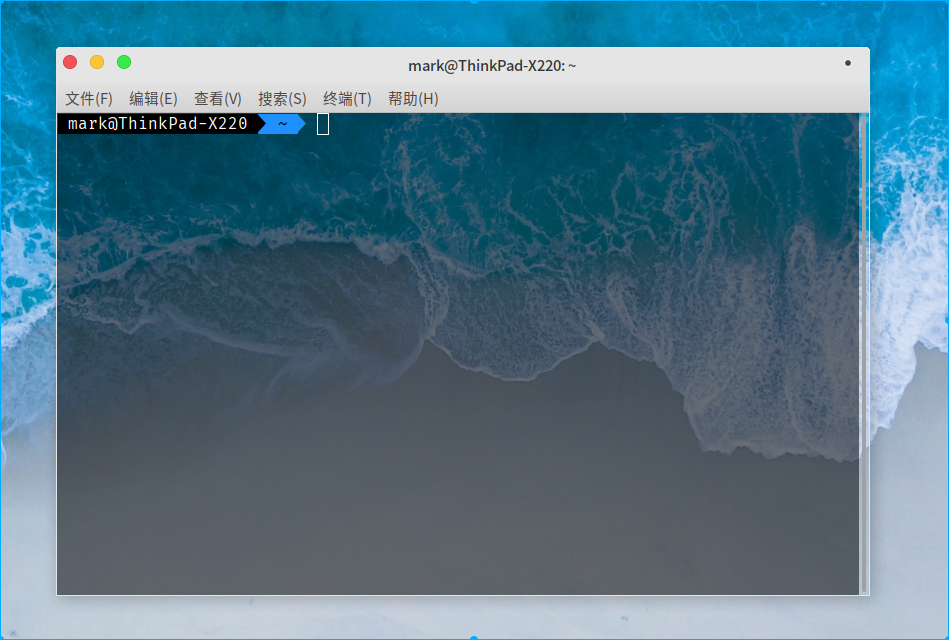
系统设置里把所有Sans字体改为Noto Sans CJK SC系列, 字重保持一致, 等宽字体改为Fira Code - 更改终端的字体为
Fira Code, 字号12, 最后改成如下图就行.
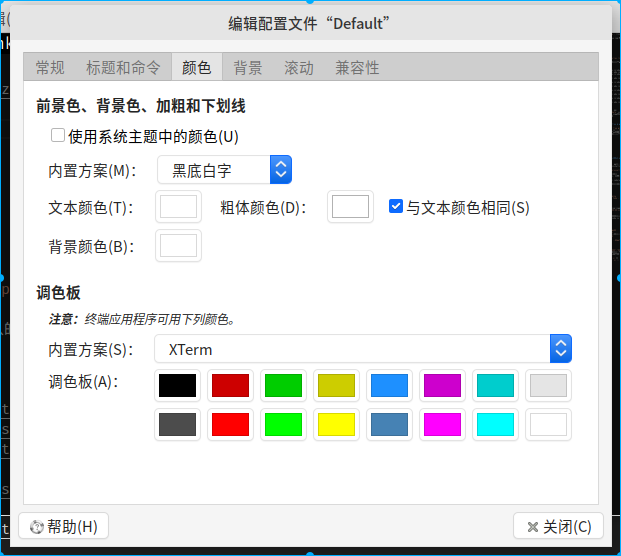
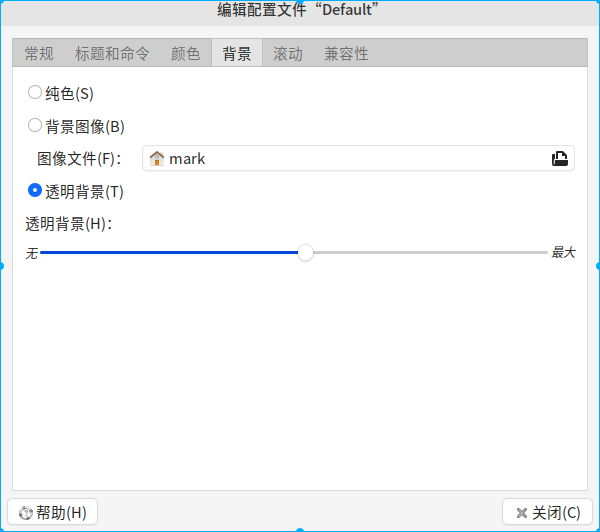
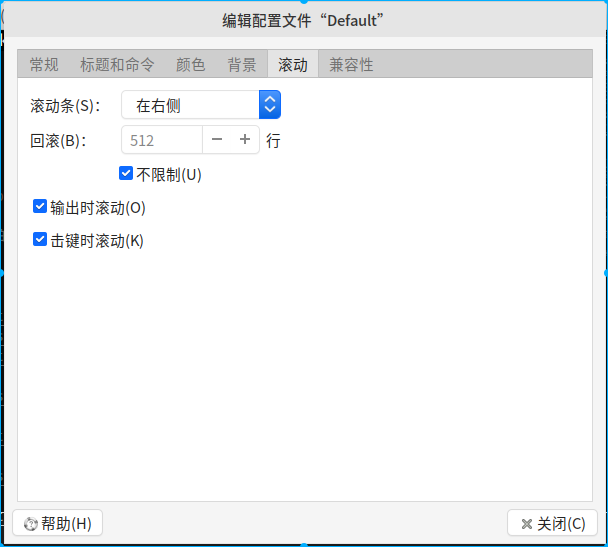
- 修改完之后的效果为下图
- 改系统主题主要安装以下三种主题包: mac os主题包, mac os图标包, mac os鼠标指针包, 反正已经备份到移动硬盘里面了(手动滑稽)
更换软件源
向速度低头.jpg
sudo vi/nano /etc/apt/sources.list使用vi或者nano编辑器打开软件源的文件, 有什么编辑器就用什么编辑器用编辑器打开之后, 把默认的软件源网址全部用
#注释掉, 加入下面一大段网址(中科大源):1
2
3
4
5
6
7
8
9
10
11
12##中科大源
deb https://mirrors.ustc.edu.cn/ubuntu/ bionic main restricted universe multiverse
deb-src https://mirrors.ustc.edu.cn/ubuntu/ bionic main restricted universe multiverse
deb https://mirrors.ustc.edu.cn/ubuntu/ bionic-updates main restricted universe multiverse
deb-src https://mirrors.ustc.edu.cn/ubuntu/ bionic-updates main restricted universe multiverse
deb https://mirrors.ustc.edu.cn/ubuntu/ bionic-backports main restricted universe multiverse
deb-src https://mirrors.ustc.edu.cn/ubuntu/ bionic-backports main restricted universe multiverse
deb https://mirrors.ustc.edu.cn/ubuntu/ bionic-security main restricted universe multiverse
deb-src https://mirrors.ustc.edu.cn/ubuntu/ bionic-security main restricted universe multiverse
deb https://mirrors.ustc.edu.cn/ubuntu/ bionic-proposed main restricted universe multiverse
deb-src https://mirrors.ustc.edu.cn/ubuntu/ bionic-proposed main restricted universe multiverse保存并退出心里有数吧(手动狗头)
最后运行
sudo apt-get update见证一下国内源的速度吧!时间多或者版本号强迫症的同学可以马上
sudo apt-get upgrade升级一下软件, 你要问我Linux内核更新了之后要不要重启呀? 随你便…
安装配置基础软件: VIM & tree & git
sudo apt-get install vim tree gitsudo vim /etc/vim/vimrc接着来改一下vim的配置文件- 打开配置文件之后, 在后面合适的位置添加
set nu来显示行号 - 添加一下代码使缩进为标准的4个空格
1 | set tabstop=4 |
- 保存退出, 直接生效
换一个好看的shell: 安装zsh及oh-my-zsh
- 默认的bash不好看, 换!
sudo apt-get install zsh一般来说默认的源是有的chsh -s /bin/zsh切换默认shell为zsh, 重启生效sh -c "$(wget https://raw.github.com/robbyrussell/oh-my-zsh/master/tools/install.sh -O -)"使用自动脚本安装oh-my-zshvim ~/.zshrc打开zsh配置文件- 修改如下图所示的主题那一行, 把主题改成agnoster
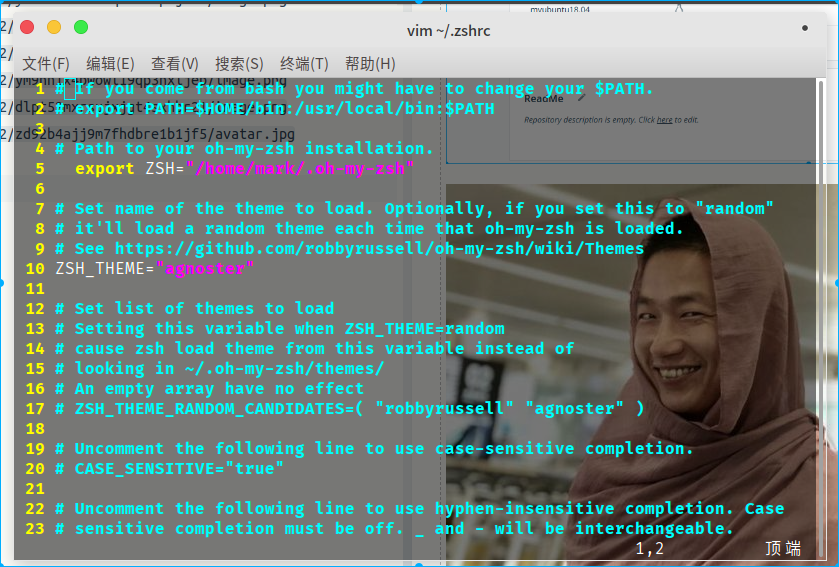
source ~/.zshrc使变化的配置文件生效
远程连接工具: remmina
sudo apt-get install remmina- 安装完成后把字体改为
Fira Code, 否则远程服务器的zsh主题会显示有问题
Chrome & FireFox不用我多说
- 改地区和搜索引擎以及字体, 不使用系统任务栏, 这些都已经轻车熟路了.
主力编辑器: Visual Studio Code
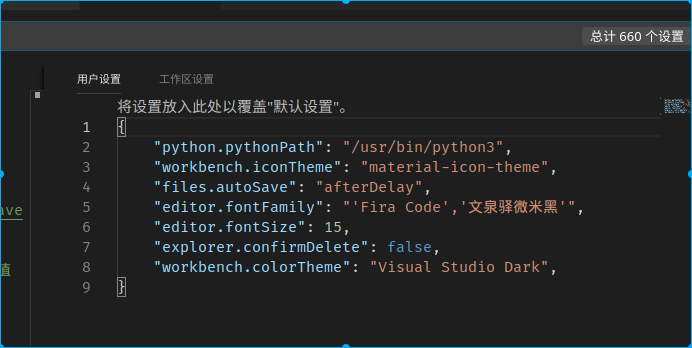
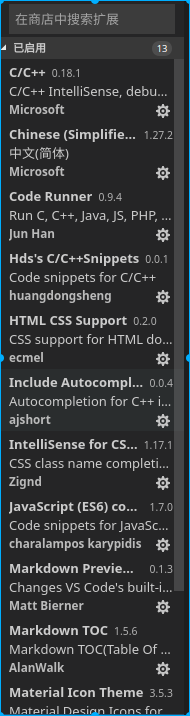
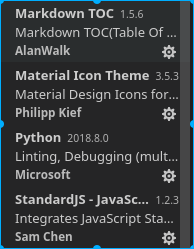
- 主要是改一下配置文件和添加一些拓展, 上图
几个需要说明的国产软件
网易云音乐Linux版1.1, 你会发现普通用户打不开对吧, 因为这个版本需要root用户才能打开, 于是可以在zshrc中加入这样一句:alias wyy="sudo netease-cloud-music"安装
搜狗输入法之前, 可以先在设置里安装本地语言包, 这样就有靠谱的fcitx国内特色依赖, 接下来注意! 使用sudo apt-get remove fonts-arphic-ukai fonts-arphic-uming把楷体卸载, 用过Linux Mint的同学笑而不语(手动滑稽)下一篇文章是使用Deepin-wine方式实现Linux系统运行qq, tim, 微信等常用windows软件, 敬请期待(随缘更新)
Python3库的补充
sudo apt-get install python3-pip安装pip3- 切换豆瓣源
sudo vim ~/.pip/pip.conf 你要问我没有这个文件怎么办? mkdir会吗?
1 | [list] |
保存退出之后立即生效
- 安装以下库
requests,bs4,lxml,selenium,pymongo,Flask - 需要注意的是: 如果想使用PhantomJS无头浏览器, selenium的版本要降到2.48.0
爬虫要用到的一些东西: PhantomJS, ChromeDriver
- 他们俩的安装包建议去淘宝下载, 或者我的移动硬盘里已经有了, 淘宝镜像源地址
- 一般来说我会把phantomjs直接解压到
/home/mark里, 要使用的时候, 在PhantomJS()里加上这条绝对路径就行 - Chromedriver请根据自己的Chrome版本进行选择, 解压后执行
cp chromedriver /usr/bin/把它复制到/usr/bin里就行(别告诉我解压都不会)
Node.js环境搭建
git clone https://github.com/cnpm/nvm.git- 在
bashrc中加入source /XX/XX/nvm/nvm.sh source ~/.bashrcnvm
(有了nvm之后可以安装node.js的任意版本)nvm install v10.5.0下载node.js 10.5.0版本
mongodb数据库
sudo apt-get install mongodbsudo apt-get install tmuxmkdir XXX为数据库创建一个文件夹systemctl disable mongodbtmux进入一个新的终端- 在这个新的终端输入
mongod --dbpath /home/db Ctrl + D回到原来的终端mongoshow dbs查看存储情况use 数据库名使用数据库db.数据集合名.instert({"XXX":"XXX"})插入数据(增)db.数据集合名.find()查看当前数据库的信息db.数据集合名.drop()删除指定的数据集合(删)db.dropDatabase()删库db.数据集合名.update({...})改db.数据集合名.findOne({...})查
安利两个好用的小软件
BleachBit(as root)&redshift- 第一个是Linux平台上老牌的系统清理软件, 简洁易用
- redshift中文名红移, 是一个屏幕色温调节软件, 支持白天和夜间自动调整色温, 不过嘛, 配置文件做一点手脚就行了.
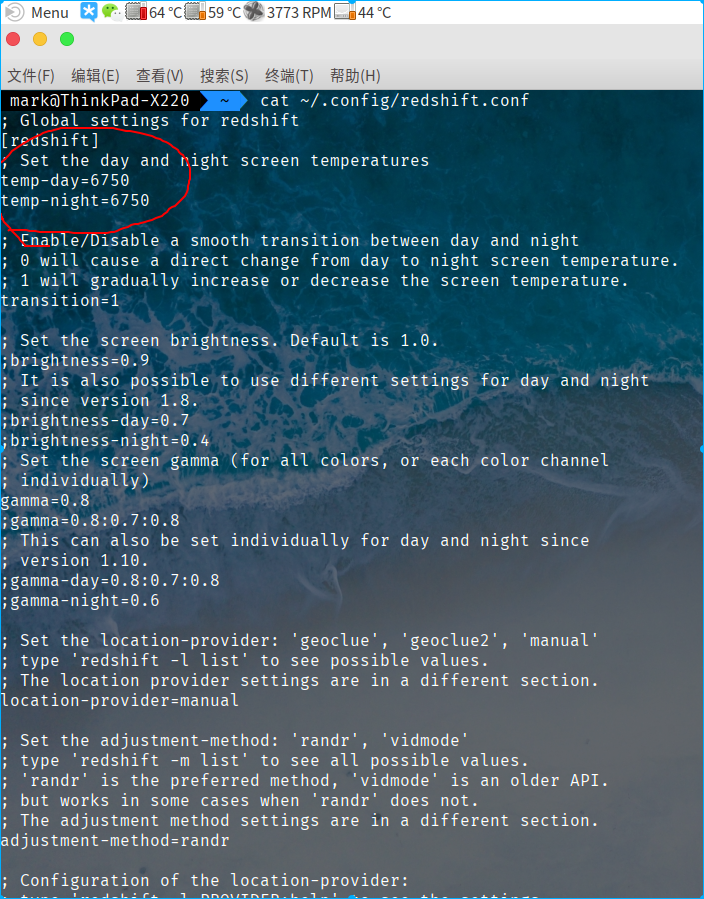
懂我意思没(手动滑稽), 下面把配置文件放出来
1 | ; Global settings for redshift |
基本上可以搞事情了, 突然发现还有一件事没干, 配置github & 码云
- 首先在本地创建ssh key:
ssh-keygen -t rsa -C "your_email@youremail.com" - 后面的your_email@youremail.com改为你在github上注册的邮箱,之后会要求确认路径和输入密码,我们这使用默认的一路回车就行。成功的话会在~/下生成.ssh文件夹,进去,打开id_rsa.pub,复制里面的key。回到github上,进入 Account Settings(账户配置),左边选择SSH Keys,Add SSH Key,title随便填,粘贴在你电脑上生成的key。
- 验证是否成功:
ssh -T git@github.com - 建一个合适的文件夹, 然后cd到这个文件夹:
git config --global user.name "your name"git config --global user.email "your_email@youremail.com" - 然后
git clone就行 - 最后建议自己写一个简单的Push脚本
1 | git add . |

